
Calligraphy is used so much at the moment! Place cards, wedding invites, wall signs, room decor, even envelopes. This can be a valuable tool in any crafters toolbox but also is fun just to have a go at especially if you have an event or wedding coming up.
Finding calligraphy pens and ink or brush pens can be a pain unless you know exactly what you’re looking for. I’ve tried both, I never got on with brush pens and just couldn’t control it very well but the pens and ink were much better. I could create decent looking calligraphy but it was so hard to get the correct amount of ink and it either dripped and flooded words or ran out half way though whatever I was trying to write.
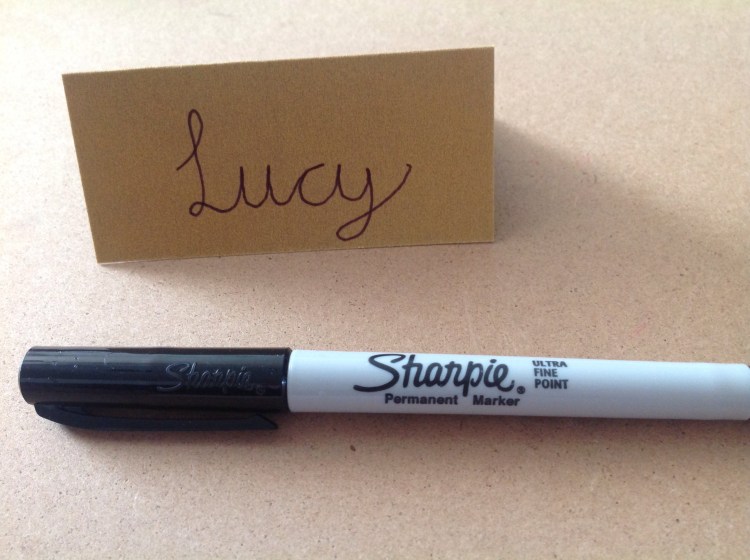
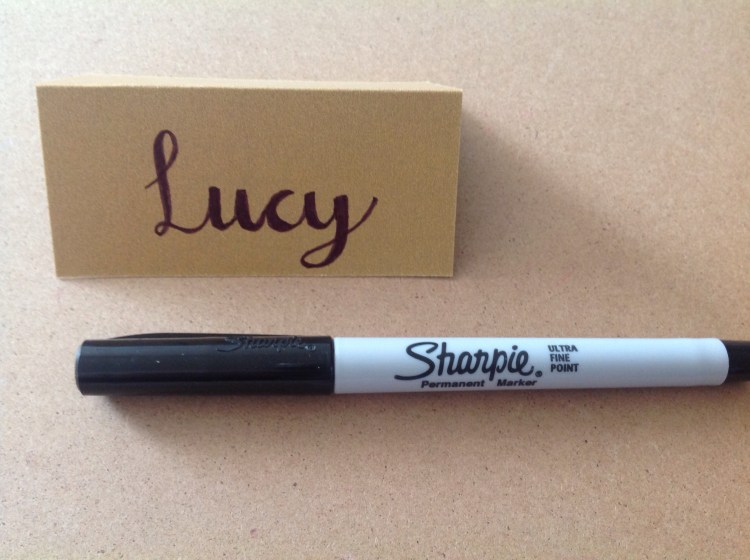
Here’s a way to ‘cheat’ and it’s so easy! There’s just one simple rule: place emphasis on downward strokes. All you need is this simple tool and a fine liner pen. In the tutorial below I have used a sharpie ultra fine pen.
Start by writing out your word. Make sure it is joined up and add flourishes wherever you like.
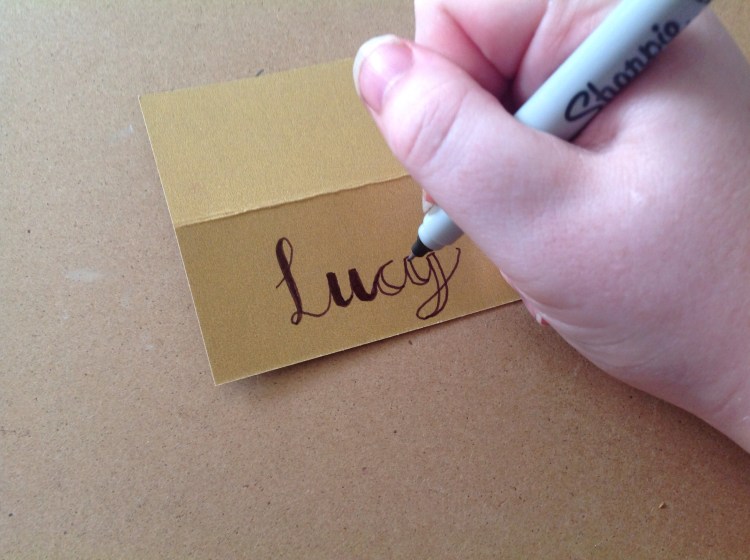
Next we start to think where to add extra emphasis. Anywhere the pen goes down instead of up, you need to add a thicker line.
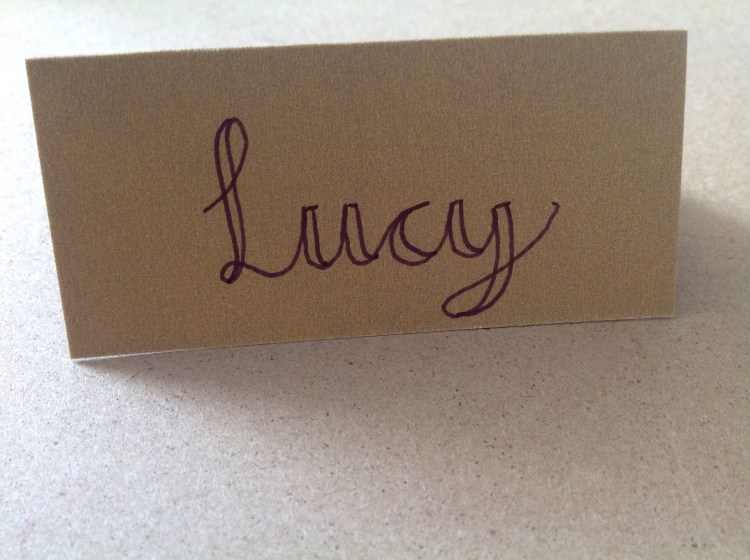
Colour in each of these areas and that’s it!
You have created your first piece of calligraphy. Hopefully you’ll like what you’ve made but remember practice makes perfect and each time you’ll just get better and better.
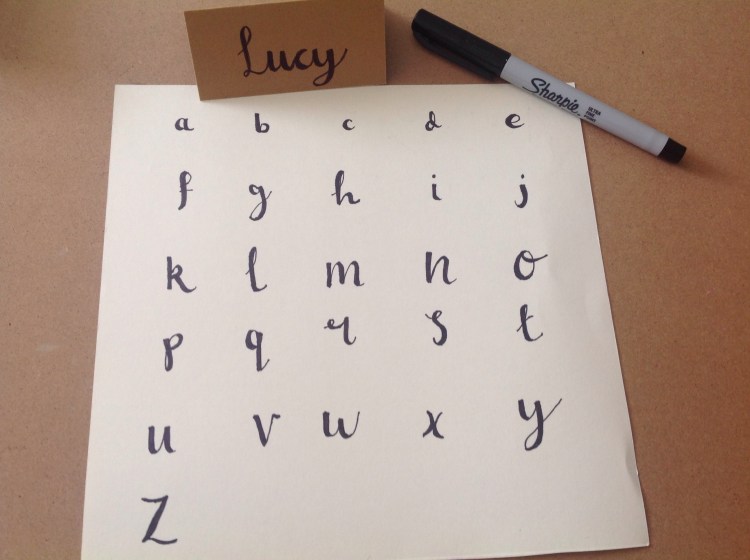
If you are still struggling here is a simple lowercase alphabet with the emphasis in the right places.
I hope you’ve found this guide useful and have created some fantastic calligraphy! If you’ve had a go feel free to tag me on twitter or request future blog subjects. Thanks for reading and I hope you’ll come back in the future for more tutorials!
Meaningful Makes
